
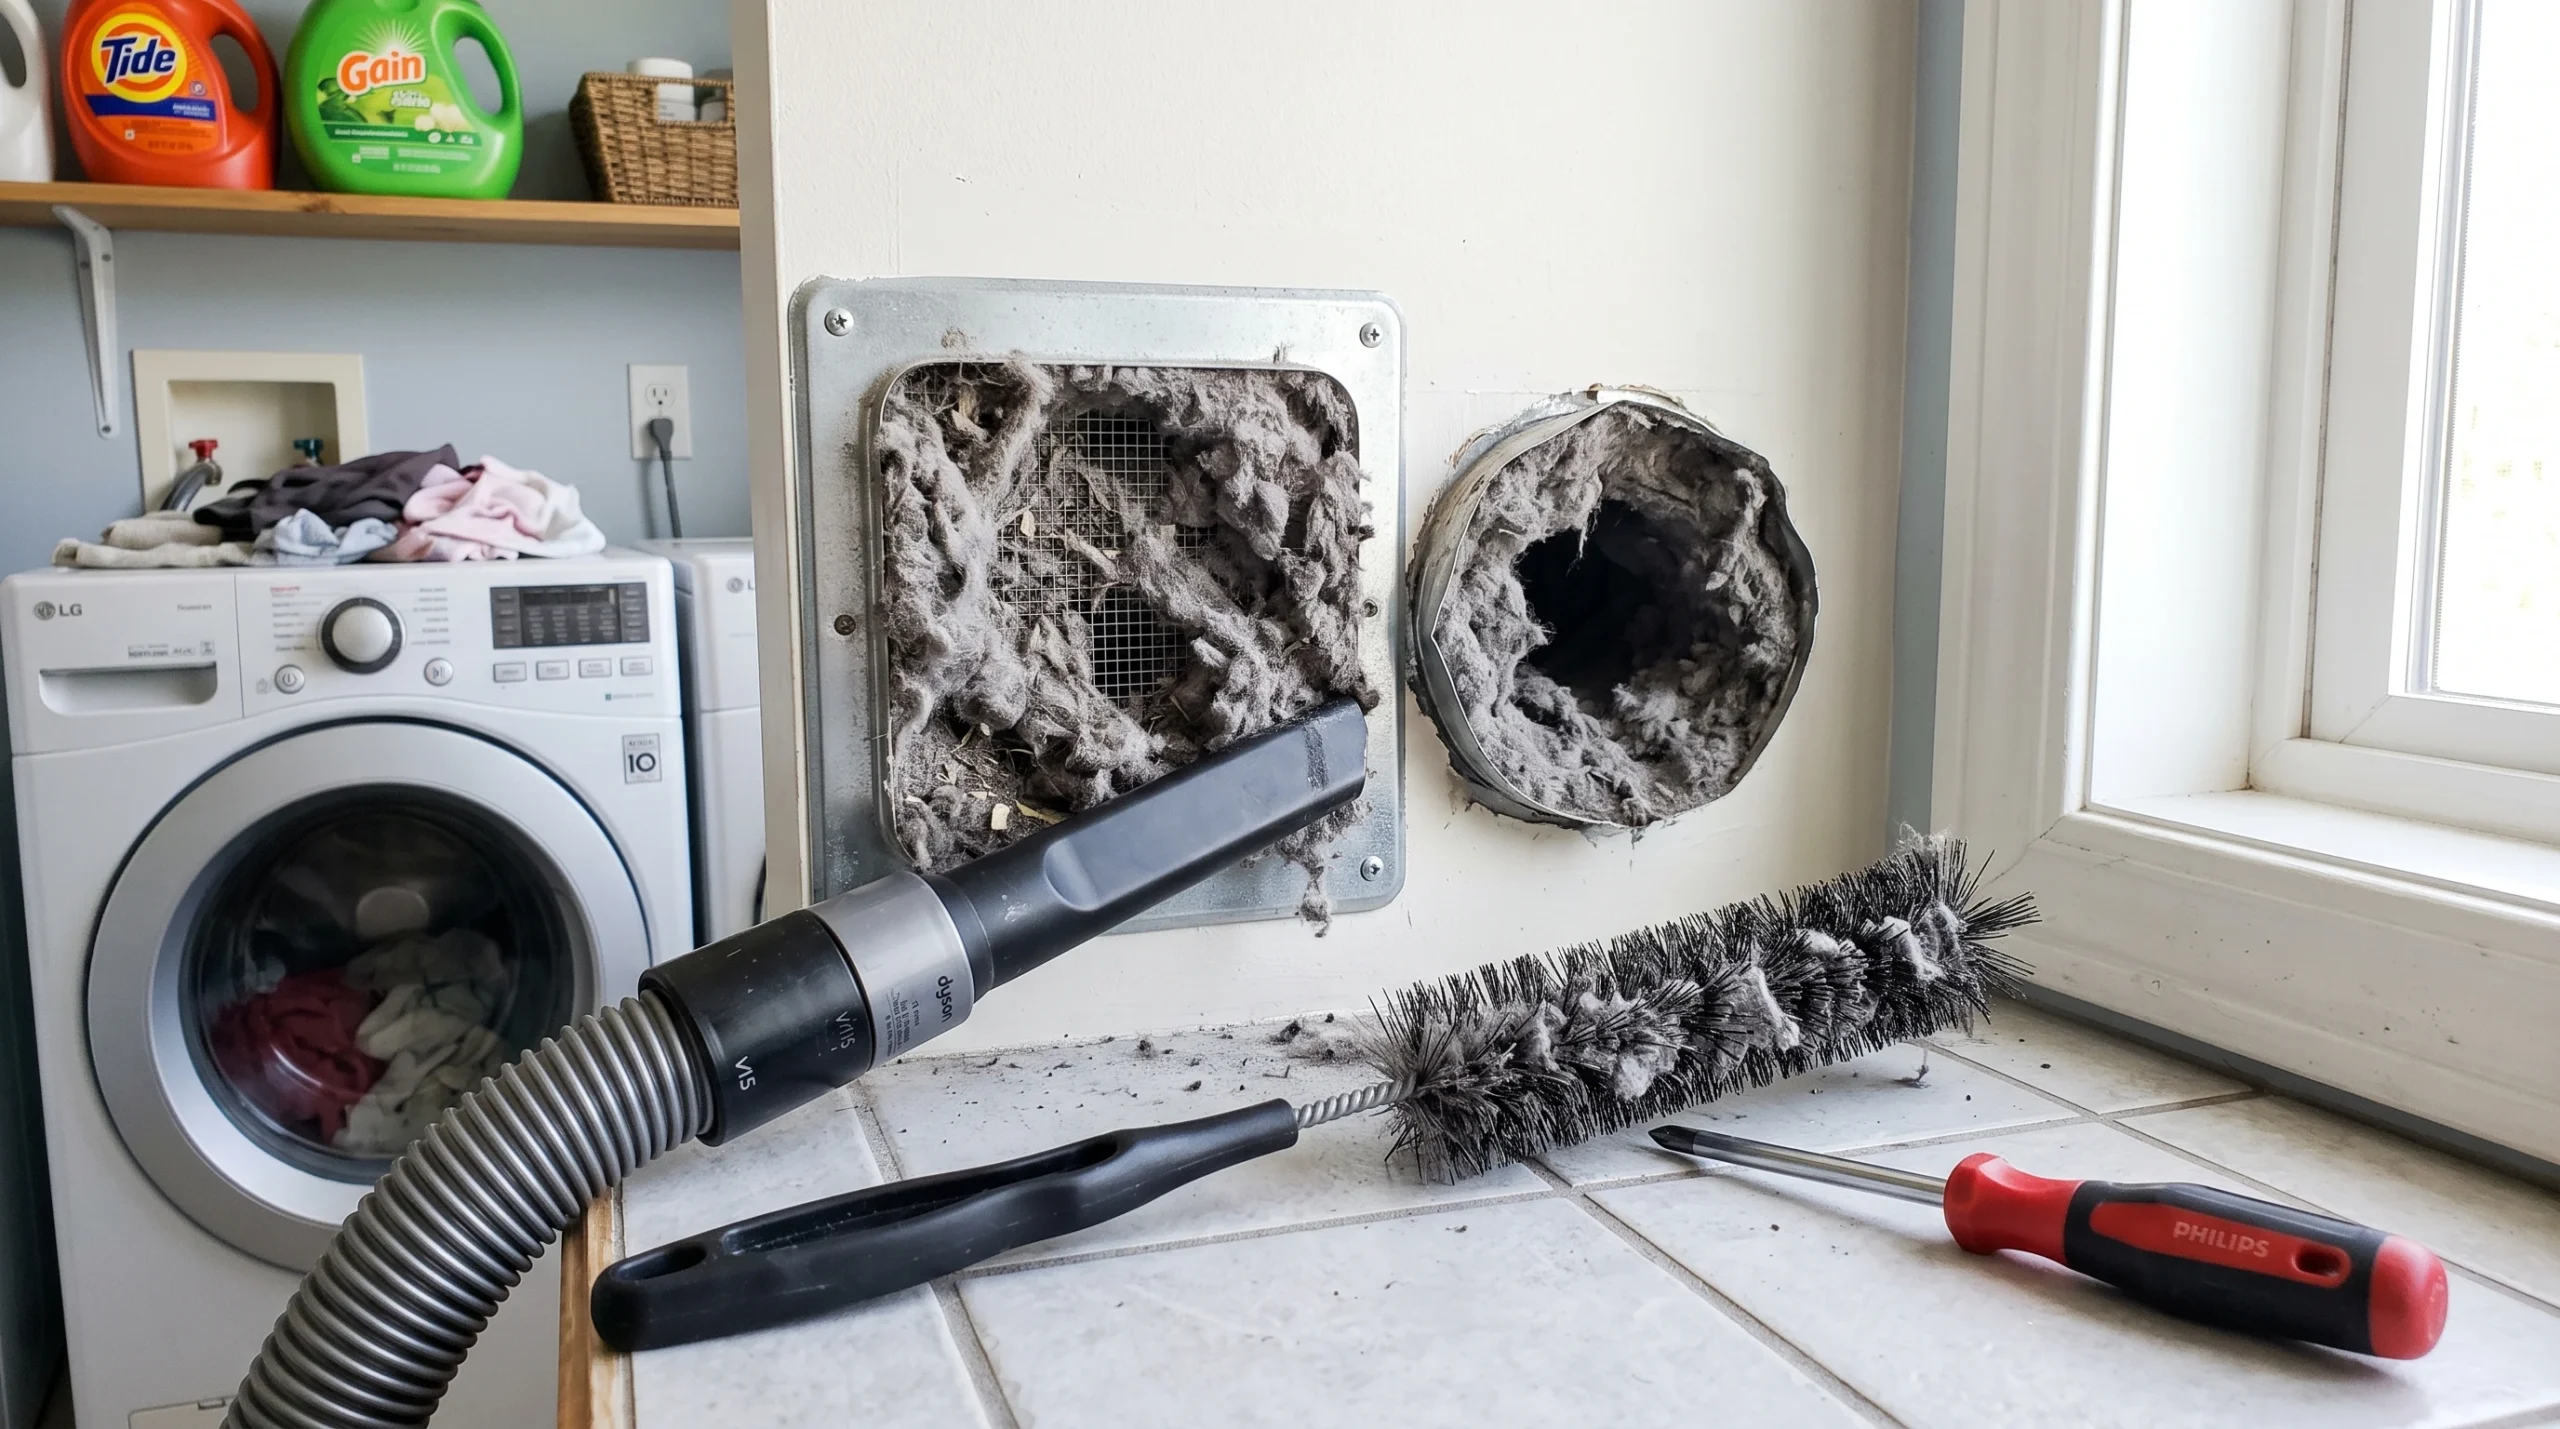
Hi, I’m Greg! Over the years, I’ve seen how an overlooked dryer vent can lead to unexpected problems. In this post, I’ll walk you through cleaning and maintaining your dryer vent, the warning signs to watch for, and a service call I’ll never forget.
Cleaning and maintaining your dryer vent is about much more than keeping your laundry area clean. A restricted dryer vent can increase drying times, waste energy, put additional strain on the dryer, and create a serious fire hazard.
It is also one of those maintenance items that is easy to forget because most of the vent is hidden behind the dryer, inside a wall, or sometimes even routed through the roof.
Note: This guide is for standard vented electric and gas dryers. Ventless and heat-pump dryers use different systems and should be maintained according to the manufacturer’s instructions.
Regular inspection and cleaning can help keep the dryer operating properly and give you a chance to catch vent problems before they turn into larger repairs.
Why Dryer Vent Cleaning Really Matters
Your lint screen catches a lot of lint, but it doesn’t catch all of it. Small amounts make their way past the filter and into the dryer and exhaust system every time you run a load.
Over time, that lint can accumulate inside the vent and restrict airflow.
According to the U.S. Fire Administration, failure to clean was the leading factor contributing to the ignition of home clothes-dryer fires from 2018 through 2020. U.S. Fire Administration
Restricted airflow can also cause other problems. Clothes may take longer to dry, temperatures inside the dryer can rise, and components such as thermal fuses, heating elements, and other parts can be placed under additional stress.
A Service Call I’ll Never Forget
I once went to a customer’s house because they said their dryer was leaking water from behind it.
When I pulled the dryer out, the duct hose came loose and about two gallons of water came out of the duct.
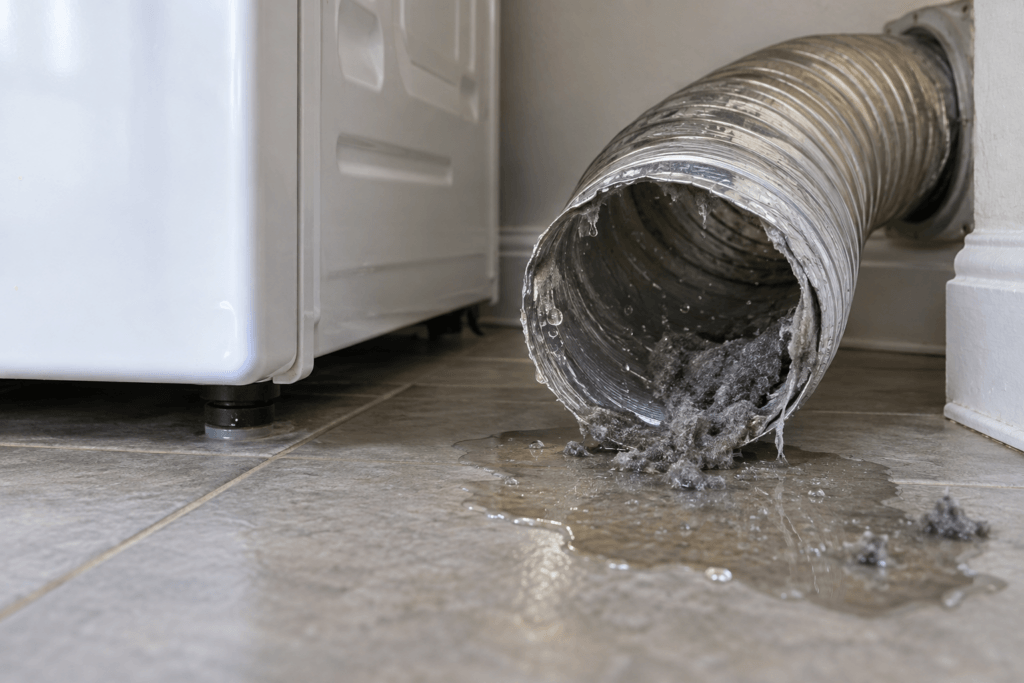
The vent ran straight up and exhausted through the roof, and the customer told me it had never been cleaned in more than 20 years.
After cleaning the vent I opened the dryer to clean it and found the entire inside covered with lint. Even more concerning, some of that lint showed evidence that it had already burned.
That service call is a good example of why dryer vent maintenance shouldn’t be ignored. A vent problem doesn’t always start with an obvious warning like a burning smell. Sometimes the first symptom may be long drying times, excessive heat, moisture, or something that doesn’t seem related to the vent at all.
Start With the Lint Screen
Before getting into the vent itself, there is one maintenance step that should happen routinely: clean the dryer’s lint screen before or after every load.
This is one of the simplest things you can do to maintain good airflow.
Lint can also accumulate in the lint-filter housing underneath the screen. Periodically inspect that area and carefully remove accessible lint with a vacuum or appropriate dryer-cleaning brush.
Never operate the dryer without its lint filter installed.
Some dryers also require periodic cleaning of moisture sensor bars or other model-specific areas. Check your owner’s manual for any additional maintenance recommended for your dryer.
Identifying Your Dryer Vent
Most dryers have an exhaust connection at the rear of the machine. A short transition duct connects the dryer to the home’s permanent exhaust duct, which should eventually terminate outdoors.
Some vents travel only a few feet through an exterior wall. Others may run through a wall, floor, crawlspace, or attic before exiting outside.
Longer vent systems and systems with several turns generally require more attention because restrictions have a greater effect on airflow.
Roof-mounted dryer vents can also be more difficult for a homeowner to inspect and clean safely.
If you cannot determine where the vent terminates, or the vent is difficult to access, professional cleaning may be the safer option.
Tools You May Need
For a typical dryer vent cleaning, you may need:
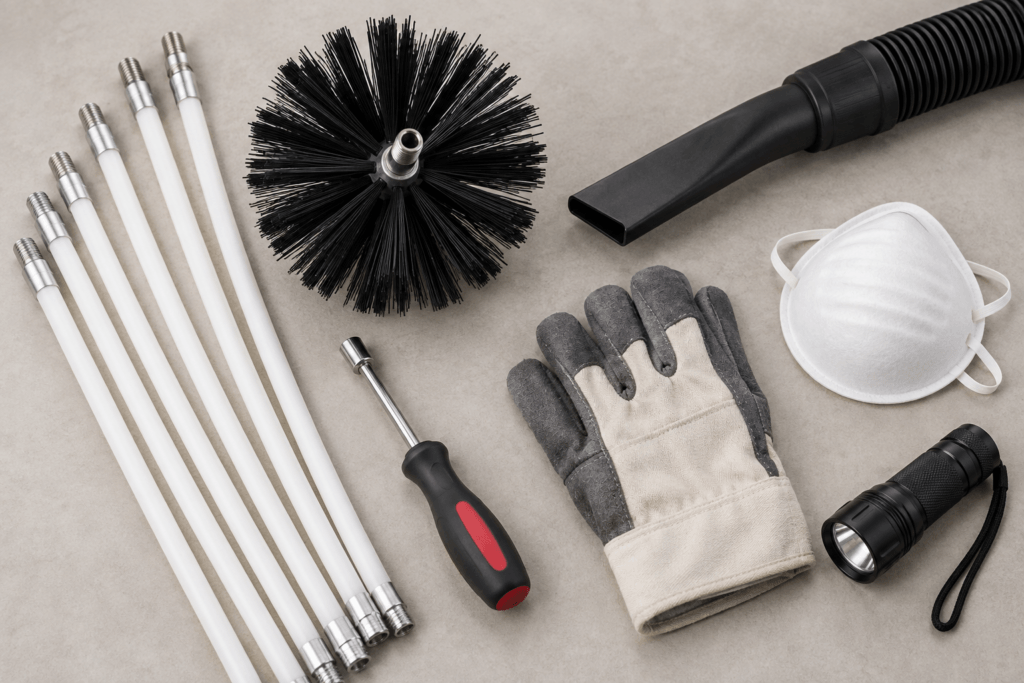
- Vacuum cleaner with a hose attachment: Useful for removing loose lint around the dryer and accessible portions of the vent.
- Dryer vent cleaning brush kit: Designed to reach farther into the exhaust duct.
- Screwdriver or nut driver: Depending on the type of clamp used on the transition duct.
- Gloves and dust mask: Helpful when dealing with large amounts of lint and dust.
- Flashlight: Makes it easier to inspect the duct and the area behind the dryer.
Before starting, look at how your dryer is installed. If the duct disappears into an inaccessible area or has a complicated route, don’t assume a standard brush kit will reach the entire system.
Step-by-Step Dryer Vent Cleaning
1. Disconnect power to the dryer
Both electric and gas dryers need to be unplugged before doing any maintenance behind it.
If you have a gas dryer, additional precautions are necessary. Shut off the gas supply before moving the appliance.
If moving the dryer requires disconnecting the gas supply line, I highly recommend having a qualified person handle the gas connection rather than attempting it if you are unfamiliar with gas appliance work.
2. Carefully move the dryer away from the wall
Pull the dryer out far enough to access the exhaust connection without crushing or stretching the transition duct.
3. Disconnect the dryer vent
Remove the clamp or other approved connector holding the transition duct to the dryer.
Inspect the duct while it is disconnected. Replace it if it is crushed, torn, badly kinked, or damaged.
4. Remove lint from the vent
Use a dryer vent brush and vacuum to remove lint from the accessible ductwork.
How much of the system you can clean safely will depend on its length and routing.
If the vent travels a long distance, contains several turns, or terminates on the roof, you may want to consider having the entire system professionally cleaned.
5. Inspect the exterior vent
Locate the point where the dryer exhausts outdoors.
Remove visible lint and debris and make sure the exterior damper or flap can move freely.
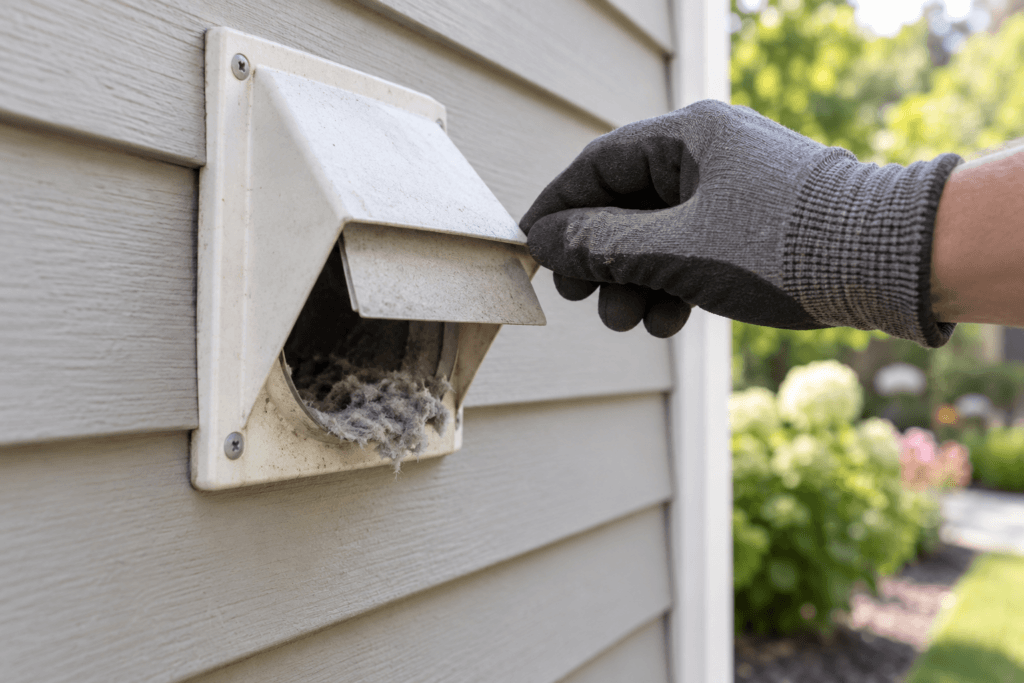
When the dryer is operating, the flap should open and there should be noticeable airflow coming from the vent.
A weak airflow doesn’t automatically mean lint is the problem. The exhaust system may be crushed, damaged, excessively long, blocked by debris, or restricted somewhere else in the system.
Also check that someone hasn’t installed a screen over the dryer exhaust outlet. A screen can collect lint and eventually restrict airflow. I have seen that many times over the years.
6. Reconnect the vent correctly
Reconnect the dryer using an appropriate clamp or approved metal foil tape where required.
Avoid screws that protrude into the airflow path. The ends of screws inside the duct can catch lint and contribute to buildup.
For permanent dryer ductwork, smooth rigid metal duct provides the best airflow. If a flexible transition connection is necessary behind the dryer, use one specifically listed and approved for dryer use.
Never use plastic or vinyl dryer vent material.
7. Return the dryer to position
Carefully move the dryer back into place without crushing or sharply bending the transition duct.
A perfectly clean vent won’t work properly if the duct becomes kinked as soon as the dryer is pushed back against the wall.
8. Test the dryer
Restore power and, if applicable, the gas supply.
Run the dryer empty for several minutes and check the exterior exhaust if possible.
Make sure the vent flap opens if there is one and that you have good airflow outside.
Warning Signs Your Dryer Vent May Need Attention
You don’t have to wait for your scheduled cleaning if the dryer starts showing signs of poor airflow.
Watch for these symptoms:
Before assuming the vent is the problem, consider the load itself. An overloaded dryer, bulky items such as comforters, an inappropriate cycle, or clothes coming from the washer unusually wet can all increase drying time.
- Clothes are taking longer than normal to dry. This is one of the most common signs of restricted airflow.
- Clothes or the dryer are unusually hot. Excessive heat can indicate that hot air isn’t leaving the dryer properly.
- You notice a burning or scorched smell. Stop using the dryer until the source has been identified. Don’t assume cleaning the vent has solved the problem if the smell continues.
- The outside vent flap barely opens or doesn’t open while the dryer runs. This indicates poor exhaust airflow and needs to be investigated.
- Moisture is collecting around the dryer or vent system. Dryer exhaust contains a significant amount of moisture. If it cannot escape properly, that moisture can condense inside the exhaust system or escape into the home.
- The dryer repeatedly stops because of overheating. Restricted airflow can contribute to overheating and thermal protection problems.
These symptoms don’t prove the vent is clogged, but the exhaust system should be one of the first things checked.
Common Dryer Vent Mistakes to Avoid
A few installation and maintenance mistakes can create unnecessary airflow problems.
Using plastic or vinyl vent material
Plastic and vinyl dryer ducts should not be used. They can collect lint and do not provide the same protection as approved metal venting.
Crushing the duct behind the dryer
This happens frequently when a dryer is pushed too far against the wall. Even a clean duct can’t move enough air if it is flattened or sharply kinked.
Venting into an attic, crawlspace, or wall
Dryer exhaust needs to terminate outdoors. Venting into enclosed areas releases heat, lint, and moisture inside the home.
Installing screws through the duct
Screws extending into the exhaust path give lint something to catch on. Use approved methods for connecting dryer duct sections.
Installing a screen over the outdoor vent
Screens may seem like a good way to keep pests out, but lint can collect against them and restrict the exhaust.
Forgetting the outside termination
Cleaning only the section behind the dryer isn’t always enough. The rest of the exhaust system and the outdoor vent need to remain clear as well.
How Often Should You Clean a Dryer Vent?
A good general safety practice is to inspect and clean the dryer vent at least once a year. The U.S. Consumer Product Safety Commission recommends cleaning lint out of the vent pipe at least once a year.
However, there isn’t one cleaning interval that fits every home.
A dryer used heavily may need attention more often. Pet hair, bulky bedding, long exhaust runs, several bends in the duct, and roof-mounted vents can all affect how quickly lint accumulates.
Your dryer’s manufacturer may also provide a recommended maintenance interval, so check the owner’s manual for your specific model.
More importantly, don’t wait for the calendar if drying times suddenly increase or you notice other signs of restricted airflow.
Homes With Pets or Heavy Laundry Use
Pet hair and high laundry volume can increase the amount of material passing through the dryer.
If you regularly dry pet bedding, blankets, towels, or other items that produce a lot of lint, inspect the lint-filter area and exhaust system more frequently.
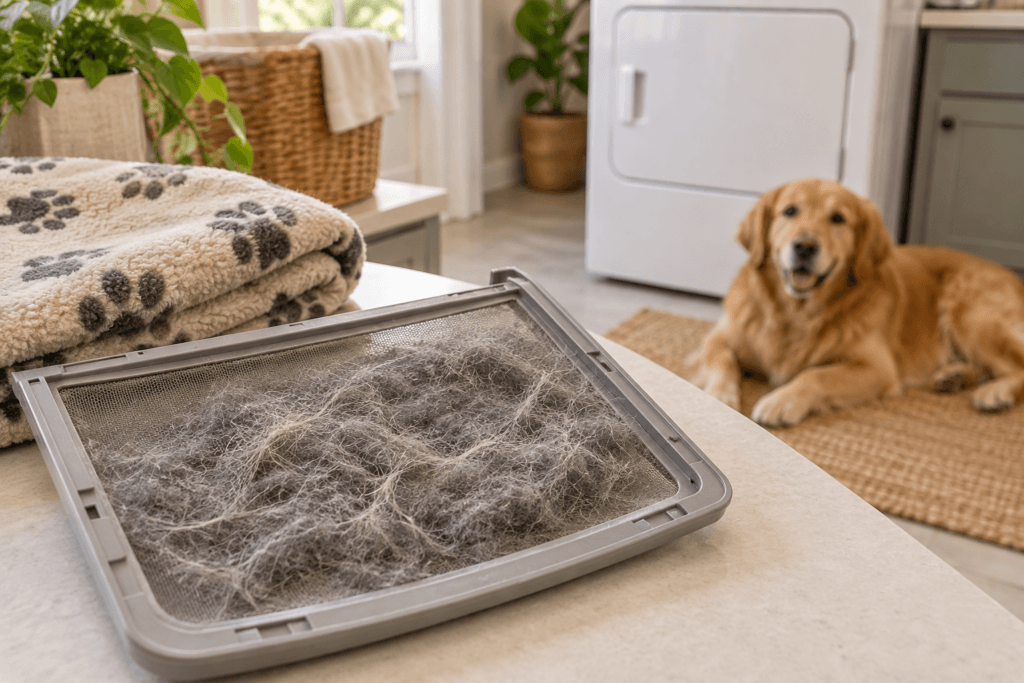
Instead of relying on a specific number of loads per week, pay attention to how your dryer is performing.
If a load that normally dries in one cycle suddenly needs two cycles, something has changed and it is worth investigating.
A Few Additional Dryer Vent Tips
- Vacuum lint and dust from behind and underneath the dryer whenever you have it pulled out.
- Keep the area around the dryer clear of combustible materials.
- Check the transition duct for crushing whenever the dryer has been moved.
- Make sure the outdoor vent flap opens freely.
- Keep outdoor dryer vents clear of leaves, debris, snow, and other obstructions.
- If possible, keep the vent route short and direct.
- Consider professional cleaning for long ducts, inaccessible vents, roof terminations, or systems you cannot completely inspect yourself.
Frequently Asked Questions
How often should I clean my dryer vent?
Annual inspection and cleaning is a good general safety guideline, but the correct interval depends on how much the dryer is used and how the exhaust system is designed. Clean it sooner if drying times increase or airflow becomes weak.
Can I clean my dryer vent myself?
Many short, accessible vent systems can be cleaned by a homeowner with the proper tools. Long ducts, roof vents, hidden ductwork, and complicated installations may be better handled professionally.
What are the most common signs of a restricted dryer vent?
Long drying times, unusually hot clothes or dryer temperatures, weak airflow outside, excessive moisture, and repeated overheating are all reasons to inspect the exhaust system.
A burning smell should always be taken seriously. Stop using the dryer until you determine where the smell is coming from.
What type of dryer vent should I use?
Smooth rigid metal duct is generally preferred for the permanent exhaust system because it provides good airflow and doesn’t collect lint as easily as flexible materials.
Where a flexible transition duct is needed between the dryer and the wall connection, use an approved metal product intended specifically for clothes dryers.
Do not use plastic or vinyl duct.
Why would there be water in a dryer vent?
Dryer exhaust contains moisture removed from your clothes. Normally, that warm moist air travels outdoors.
In a long, restricted, poorly insulated, or improperly installed vent, some moisture can condense inside the duct. A large amount of standing water is not normal and should be investigated rather than simply cleaned up.
Final Thoughts
Dryer vent maintenance isn’t complicated in many homes, but it shouldn’t be ignored.
Clean the lint screen with every load, pay attention when drying performance changes, and periodically inspect the exhaust system from the dryer all the way to the outside termination.
Most importantly, don’t assume that a dryer that still heats and tumbles is necessarily operating correctly.
That customer who called me because water was coming from behind the dryer lived in the house since it had been built 20 years prior and didn’t even know the vent needed to be cleaned periodically. Once I pulled the dryer out, the amount of water in the duct and the lint I found inside the machine showed just how far a neglected vent problem could go.
A little routine maintenance is much easier than dealing with the problems that can develop after years of restricted airflow
If you have any questions or comments about anything discussed I would be happy to discuss it in the comments below.